
How to turn a Google Sheet into a week of Instagram posts
Design one post, mark the parts that change, and let JamFrame fill it in from each row of a Google Sheet and post it on schedule. A step-by-step walkthrough.
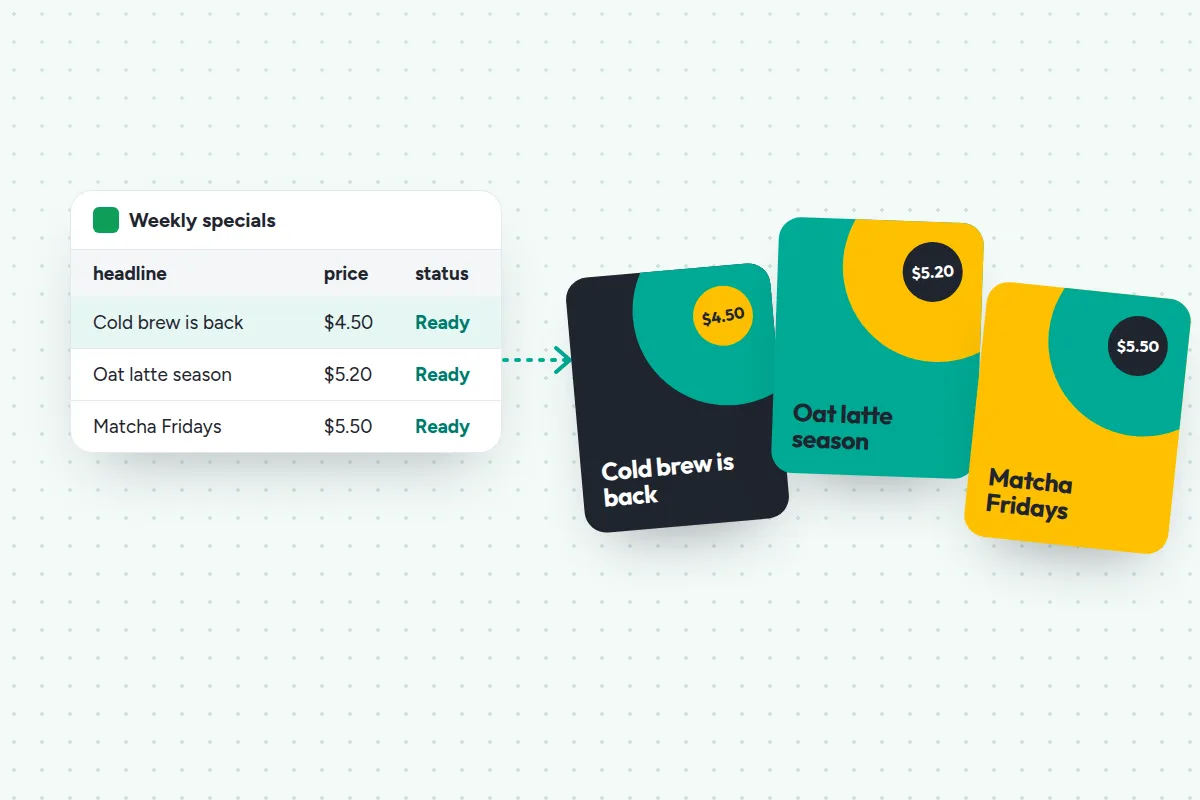
Most weekly posts look the same. A café posts its special, a shop posts a new product, a coach posts a quote. The design hardly changes, and the words, prices and photos change every time. Making each one by hand means opening a design tool, swapping the text, exporting, and uploading. Five posts a week takes an afternoon.
JamFrame does that loop for you. You design the post once, tell JamFrame which parts change, and keep the changing parts in a Google Sheet. Each row becomes a finished post.
This guide walks through the whole setup with a café’s weekly specials as the example.
What you need
- A free JamFrame account
- A Google Sheet with one row per post
- An Instagram account, connected to JamFrame (Business or Creator)
1. Start from a template
Open Templates in JamFrame and pick an Instagram post. Change the fonts, colors and logo so it looks like your brand, or design your own from a blank 1080 × 1350 canvas.
You can also bring in a design you already have. JamFrame imports a public Canva design link, and the Figma plugin exports frames straight into a template.
2. Mark what changes
Select the headline and open its API settings in the side panel. Give the layer a short parameter name, such as headline. Do the same for the price and the photo.
These names matter: JamFrame matches them to the column names in your sheet. Everything you don’t mark, like the logo and the background, stays exactly as you designed it.
3. Set up the sheet
Make a Google Sheet with one column per parameter, plus any columns you want for yourself:
| headline | price | photo | status |
|---|---|---|---|
| Cold brew is back | $4.50 | https://… | Ready |
| Oat latte season | $5.20 | https://… | Ready |
| Matcha Fridays | $5.50 | https://… | Draft |
A status column is handy. It lets you write posts ahead of time and only send the rows you mark Ready.
4. Build the workflow
Open Workflows and create a new one. A workflow is a straight line of steps:
- Trigger. Choose Schedule to run every weekday at 9:00, or New or changed rows to post as soon as you add a row.
- Source. Choose Google Sheets and pick your sheet. Add a Filter rows step that keeps rows where
statusisReady. - Render. Pick your template, then Use suggested mapping under Preview & mapping. JamFrame matches each column to the parameter with the same name.
- Deliver. Choose Post to social accounts, pick your Instagram account and write the caption. Captions can use your columns too, like
{{headline}}.
Press Run Now once to check the first post, then leave the schedule on.
Prefer the tools you already use? The same steps work in Zapier, Make and n8n: a new row in Google Sheets triggers a JamFrame render, and the result goes wherever you like.
5. Check the result
Every post shows up under Posts with its status: scheduled, published or failed. A failed render never uses credits, so a typo in a photo link costs you nothing but a retry.
What it costs
Each image uses one credit. A week of daily posts uses seven credits, and the Free plan includes 100 credits a month, so a single account can run this for free. Carousels use one credit per slide.
Where to go next
- Resize the same template for Stories and LinkedIn with Smart Resize.
- Add a template form so teammates can fill in a post from a simple page, without touching the sheet.
- Connect ChatGPT or Claude and ask for the week’s posts in a chat.
Ready to try it? Start free and make your first post from a sheet today.
Keep reading
AI agents
How to make on-brand social posts with ChatGPT and Claude
Connect JamFrame to ChatGPT or Claude and ask for posts in plain words. Your assistant fills your own templates, shows you the results and schedules them.
API
Image generation API: when to use templates and when to use AI
AI image models and template image APIs both make images from an API call, but they solve different problems. Here's how to choose, with examples and a checklist.